Assignment04 Rebuild Mark Twain's House
Rebuild Mark Twain's House
Our final assignment is to rebuild Mark Twain's former home. At first we picked many churches and museums around the world, but none were satisfactory. The decoration makes us intoxicated.
Our group had only four people for this assignment, and we chose an indoor scene with complicated decoration, which made it very difficult for us to complete the assignment. At first we thought the scene was simple, but as we modeled further, more and more details appeared before our eyes. The complicated European furniture and carvings brought us a lot of trouble.
This time I was in charge of making materials and modeling. I was in charge of the materials of the ceiling, the materials of the floor, and the materials of the carved bricks on the ground. In addition, there are two chairs, a candlestick and a screen modelling and texture around the scene. In previous projects I learned to use Substance Painter, making simple materials is not difficult for me. But this time when making the floor and ceiling materials, there were a lot of repeated patterns. I learned Sustance Designer from the beginning, and combined the Illustrator and phoroshop that I would have before to make a lot of patterns and materials. This project puts a lot of pressure on me, and I am responsible for a lot more than the last project, but there is no doubt that I have learned a lot from my teammates. And using Substance Designer to design materials has given me a whole new experience. My observation and modeling capabilities have also improved a lot. Teamwork capabilities have also greatly improved.
----------------------------------------------------------------------------------------------
floor
This is my first time using Substance Designer to make materials. I first used Tile Generator to make a simple floor texture, and then copied it using a mask to create the interlaced texture of the floor. Then I used grayscale to make the floor and the color of the white and black cross lines, and I used various methods to make the noise to make the floor look more realistic. Finally, I used the same method to make the normal to make the floor look different, and finally adjusted the reflectivity to make the material look more like a tile.
This is my first time using Substance Designer to make materials. I first used Tile Generator to make a simple floor texture, and then copied it using a mask to create the interlaced texture of the floor. Then I used grayscale to make the floor and the color of the white and black cross lines, and I used various methods to make the noise to make the floor look more realistic. Finally, I used the same method to make the normal to make the floor look different, and finally adjusted the reflectivity to make the material look more like a tile.
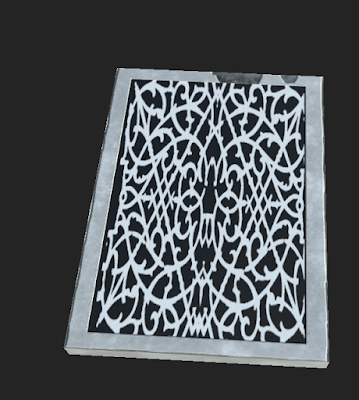
In addition, there is a prominent tile on the floor. I used Photoshop and Substance Painter to make the material. In order to reduce the number of faces of the model, I also used the method of directly drawing the height map to make the bumpy feel.

---------------------------------------------------------------------------------------------
I used Illustraor and Photoshop to make the screen material. I first made a prototype based on the pattern in the scene, then exported it as png, and then used Photoshop for color processing. Then I used Substance Painter's filter layer and painter layer. more convenient.
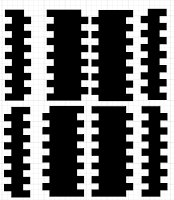
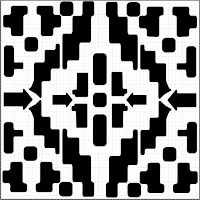


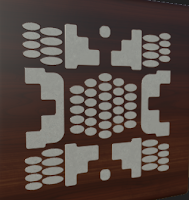
Modeling the screen I used the soft select method learned in the previous assignment to make two engravings in the model
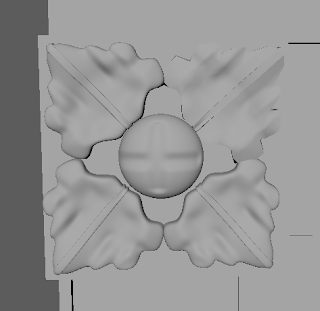
But after the production, I realized that the surface of the model should not be hard, and the smooth place should not be smooth. I plan to learn Zbrush to solve this problem in the future. I didn't add more details to the surface and left the work to the material. I can create new height brushes directly in Painter to make more details of the model with a lower number of faces.
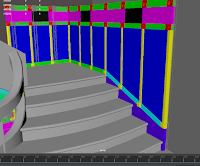
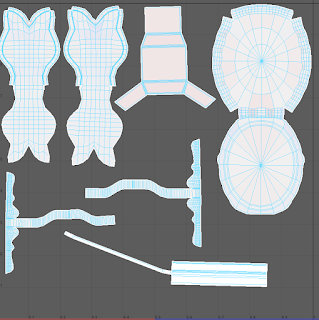
In post-production textures, we decided to import the model into the Unreal Engine4, which can save a lot of rendering time. However, correspondingly, the game engine has strict requirements on the number of faces and the number of materials of the model. A lot of my time is spent making the UVs more neat and no overlap. In addition, I also taught myself the creation of a color map, and realized a model and a material, which is more convenient to import into UE4.
----------------------------------------------------------------------------------------------
Chair 1
Hiding in the shadows, this chair is not very recognizable, but it is also an important part of the scene. I first divided the chair into several different parts, and then I kept the number of faces as small as possible, and the uvs were neat. My teammate Carter taught me some UV display skills, which helped me a lot in making the textures.

----------------------------------------------------------------------------------------------
Chair 2
This chair has a European style and is more complicated than the previous one. It has two different materials, one is pillow and the other is wood. At the same time, the four legs of the chair are also deformed by rotation. I also first divided the model into several parts, and then used soft select and mirror symmetry to make this model. Then use color map to make two materials in Painter. And use the material to create the carved pattern on the top of the chair.
This chair has a European style and is more complicated than the previous one. It has two different materials, one is pillow and the other is wood. At the same time, the four legs of the chair are also deformed by rotation. I also first divided the model into several parts, and then used soft select and mirror symmetry to make this model. Then use color map to make two materials in Painter. And use the material to create the carved pattern on the top of the chair.
----------------------------------------------------------------------------------------------
Stool
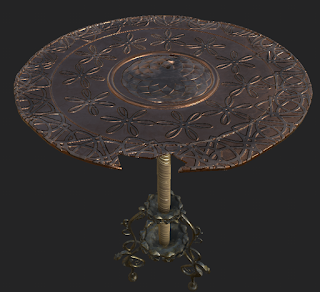
When I first started making it, I realized that there was a gap in the surface of this candlestick, and I paid special attention to this when I was modeling. I divided this candlestick into several parts. I spent a lot of time observing before modeling, which saved me a lot of modeling time. When making the base, I tried many methods, and finally chose to use nurbs to create the prototype.
Then convert to polygon, and finally select specific faces for extrude to make similar shapes. Most of the carvings in the candlestick are done while making the material. I also paid particular attention to the green color that appeared when the copper was oxidized. When making the top plate, I also used soft select to simulate the rugged feeling after using it for a long time.
----------------------------------------------------------------------------------------------
ceiling
After Josey finished modeling the ceiling, I also used Illutrator, photoshop, and Substance Painter to make the ceiling materials. The pattern of the living room with chandeliers is extremely complicated, and it took me a long time to reproduce the pattern.



评论
发表评论